Design Insights
Finishing Techniques: From Raw Wood to Masterpiece
Understand finishing techniques: from raw wood to masterpiece in the creation of premium custom cabinetry.
Every Step from Sanding to Final Coat in Custom Cabinet Finishing
The Art and Science of Wood Finishing
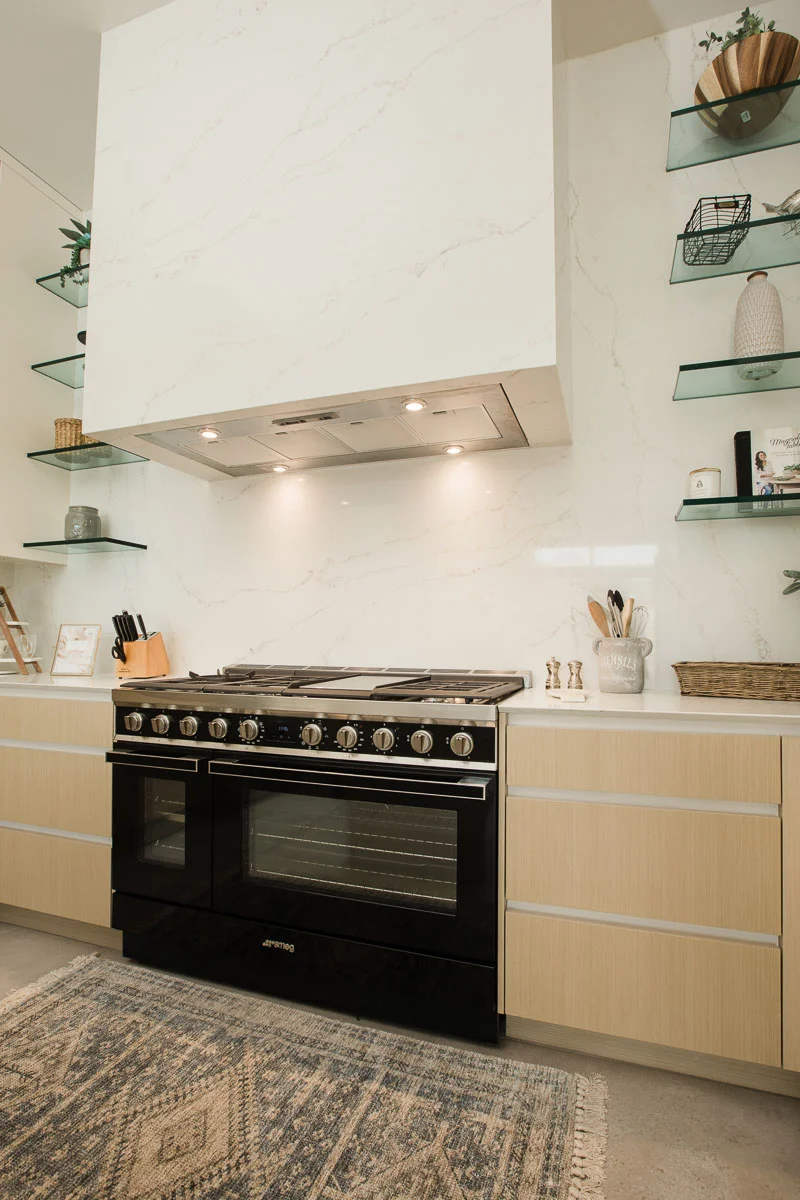
The finish on a set of custom cabinets does more than protect the wood. It defines the visual character of the kitchen, determines how the surface feels to the touch, and establishes the maintenance requirements for years to come. A flawless finish is the result of a disciplined, multi-step process where each stage builds on the last. Rushing or skipping any step produces results that are immediately visible to a discerning eye and that degrade more rapidly under kitchen conditions.
At PineWood Cabinets, our finishing department is the most painstaking stage of production. A typical set of kitchen cabinets spends more time in the finishing room than in any other department, often seven to ten working days from first sanding to final inspection. This article takes you through the complete process, from the moment sanded components arrive in the finishing room to the moment they are wrapped for delivery to your home.
Understanding this process helps you appreciate the craftsmanship behind the finished product and also helps you communicate more effectively during the design approval process when finish decisions are made.
Surface Preparation: The Foundation of Everything
Before any finish is applied, the wood surface must be prepared to perfection. This begins with machine sanding to 150 grit, which removes milling marks and creates a uniformly smooth surface. Our wide-belt sander processes flat panels, while shaped components like door profiles and moldings are sanded by hand and with profile-specific sanding blocks. After machine sanding, every component receives hand sanding to 180 grit, then 220 grit, following the direction of the grain.
Between the 180-grit and 220-grit passes, we raise the grain by lightly misting the wood surface with water. This causes the wood fibers that were compressed during sanding to swell and stand up. Once dry, these raised fibers are cut away with the 220-grit pass, producing a surface that will remain smooth when the first coat of water-based finish is applied. Skipping this grain-raising step is a common shortcut in production finishing that results in a rough texture after the first coat, requiring additional sanding and coats to achieve an acceptable surface.
After final sanding, components are blown clean with compressed air and wiped with a tack cloth to remove every particle of dust. The sanded components are inspected under raking light, a light source positioned at a low angle that casts shadows across surface imperfections invisible under normal lighting. Any defects found during this inspection, including scratches, dents, glue spots, or uneven sanding, are corrected before moving to the next stage.
Staining: Color Application and Control
If the design calls for a stained finish, the stain is applied after surface preparation and before the protective topcoat. Staining is one of the most skill-dependent steps in the finishing process because the goal is not just to apply color but to apply it uniformly across components that may vary in grain density, porosity, and natural color.
We use spray application for stain to ensure even coverage and consistent penetration. After spraying, the stain is allowed to penetrate for a controlled duration, typically two to five minutes depending on the species and desired intensity, then excess is wiped away with clean lint-free cloths. The wiping technique matters enormously: too much pressure removes too much color, too little leaves blotchy areas. End grain, which absorbs stain more readily than face grain, is pre-sealed with a diluted wash coat to prevent it from turning disproportionately dark.
For woods that are prone to blotching, including maple, cherry, birch, and alder, we apply a pre-stain conditioner that partially seals the surface and equalizes absorption. Without this step, these species develop dark splotches where the softer areas of the wood absorb more stain than the harder areas. The conditioner adds a step and drying time but is absolutely essential for achieving the even, professional-quality color that distinguishes custom finishing from production work.
Sealer Coat: Building the Foundation
The sealer coat is the first protective layer applied to the wood, whether stained or natural. It serves several purposes: it locks in the stain color, provides a base for the topcoat to adhere to, and fills the wood grain partially for a smoother final surface. We use vinyl sealer for our conversion varnish system and a compatible water-based sealer for our water-based finish system.
The sealer is sprayed in our dedicated finishing booth, a temperature and humidity-controlled environment with filtered air flow that captures overspray and prevents dust contamination. Spray application technique is critical: the gun is held 6 to 8 inches from the surface, moved at a consistent speed, with 50 percent overlap between passes. Too heavy an application causes runs and sags. Too light an application provides inadequate sealing and requires additional coats.
After the sealer dries, typically two to four hours in our controlled environment, it is sanded lightly with 320-grit sandpaper. This scuff sanding serves two purposes: it creates a mechanical bond surface for the topcoat and it levels any minor imperfections, dust nibs, or orange peel texture in the sealer coat. The sanded sealer is inspected again before topcoat application.
Topcoat Application: Protection and Beauty
The topcoat is the final protective layer that the world sees and touches. It determines the sheen level (matte, satin, semi-gloss, or high gloss), the tactile feel, and the long-term durability of the finish. For the majority of our kitchen projects, we apply two topcoats of catalyzed conversion varnish, sanding between coats with 400-grit sandpaper.
Conversion varnish is a two-component finish that undergoes a chemical cross-linking reaction after application, creating a molecular structure that is harder and more chemical-resistant than single-component finishes. The catalyst must be mixed in precise proportions, typically 5 to 10 percent by volume, and the mixed material must be applied within its pot life, usually 8 to 12 hours. These constraints demand careful planning and skilled application but produce a finish that outperforms alternatives in the demanding kitchen environment.
Sheen level is controlled by the formulation of the final topcoat. Matte finishes contain more flattening agents that scatter light, while gloss finishes contain fewer. We can blend sheen levels to create custom results: a "soft satin" between matte and satin, for example, or a "low sheen" that reads as nearly matte in diffuse light but shows a subtle glow in direct light. These nuanced sheen options are discussed during the finish selection stage of our design process.
Specialty Finishing Techniques
Beyond the standard stain-seal-topcoat sequence, our finishing department executes a range of specialty techniques for clients seeking unique visual effects. Cerusing, or limed oak finish, involves filling the open grain of oak or ash with a contrasting white or colored paste that highlights the grain pattern against the base color. The result is a textured, dimensional appearance that is particularly popular for French country and coastal California kitchens.
Glazing adds depth to painted or stained cabinets by applying a translucent tinted coating over the base finish, then wiping it away from flat surfaces while leaving it in corners, crevices, and profile details. This creates shadow and dimension that makes the cabinetry look hand-finished and aged. Glazing works best on raised-panel and beaded inset door styles where the molding profiles provide natural collection points for the glaze.
Distressing is a finishing technique that deliberately creates the appearance of age and wear. We use a combination of mechanical distressing, including chain marks, worm holes, and edge wear, with chemical techniques like fuming (exposing oak to ammonia vapors) and reactive staining (using iron vinegar solutions to darken tannin-rich woods). These techniques require a skilled hand to look authentic rather than contrived. When done well, they produce cabinetry that looks like it has been part of the home for generations.
Quality Control and Final Inspection
Every finished component undergoes a three-point quality inspection before leaving the finishing room. First, visual inspection under both daylight- balanced fluorescent lighting and raking light checks for runs, sags, dust nibs, orange peel, fisheyes, and uneven color. Second, a surface hardness test using a pencil hardness gauge confirms that the finish has cured to its specified hardness, typically 3H to 4H for conversion varnish. Third, a sheen measurement using a gloss meter verifies that the finish falls within the specified sheen range.
Components that do not pass inspection are corrected. Minor defects like dust nibs are sanded and recoated. More significant issues may require stripping and re-finishing. Our rejection rate averages 5 to 8 percent of components per kitchen, and we build this into our production schedule to ensure on-time delivery. This rigorous quality control is what separates custom finishing from production finishing, and it is the reason our clients' kitchens look as good at year ten as they did at installation. Explore our complete approach to quality on our materials page.
Continue exploring kitchen design excellence
Related Articles
Finishing Techniques: Stains, Paints, and Natural Oils
Compare specific finish products and their kitchen performance
Read More →Exotic Wood Species in Luxury Kitchen Design
Special finishing considerations for exotic hardwoods
Read More →Installation Process: Precision and Care
How finished cabinetry is protected during installation
Read More →