Design Insights
Installation Process: Precision and Care
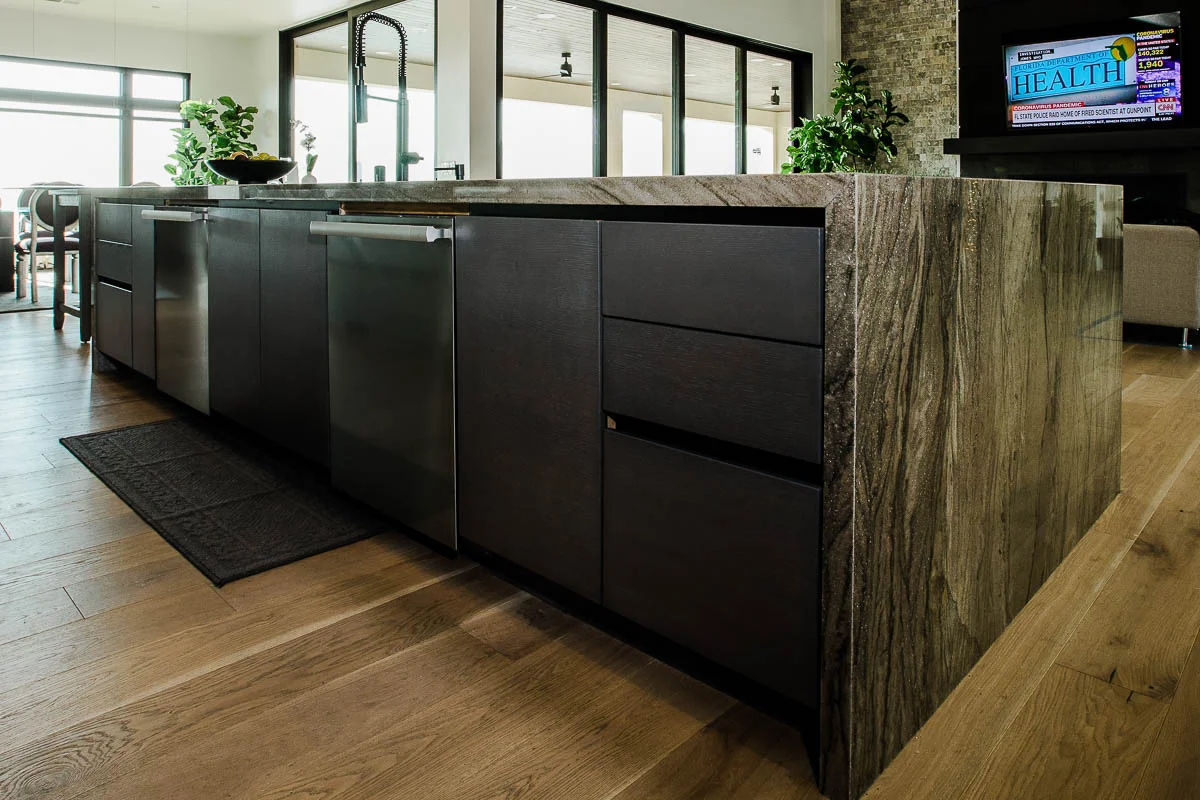
Understand installation process: precision and care in the creation of premium custom cabinetry.
The Meticulous Process of Installing Custom Kitchen Cabinetry
From Workshop to Your Home
The installation of custom kitchen cabinetry is where months of design, engineering, and fabrication converge in a single, high-stakes event. A kitchen that was beautifully designed and perfectly crafted can be undermined by careless installation. Conversely, a skilled installation team can resolve the inevitable surprises that arise when precision cabinetry meets the imperfect reality of a construction site. At PineWood Cabinets, our installation team is composed of the same craftsmen who build the cabinets, ensuring that the people handling your kitchen on-site understand every joint, every finish, and every engineering decision behind the product they are installing.
Installation of a typical luxury kitchen takes three to five days, depending on the complexity of the design, the number of cabinets, and the condition of the site. This timeline assumes that the site is ready to receive cabinetry: walls are finished, flooring is installed or protected, plumbing rough-ins are complete, and electrical circuits are in place. Coordination with the general contractor to ensure site readiness is one of the most important steps in our project management process.
This article describes each phase of the installation process, from the pre- installation site inspection to the final walkthrough and client sign-off. Understanding what happens during installation helps you prepare your home, set realistic expectations, and appreciate the craftsmanship involved in making everything fit perfectly.
Pre-Installation Site Inspection
Two to three weeks before the scheduled installation, our lead installer visits the site to verify conditions. This inspection checks that all dimensions match the production drawings, that walls are plumb and floors are level within acceptable tolerances, that plumbing and electrical rough-ins are positioned correctly, and that the site is clean and accessible for delivery and installation.
Walls that are out of plumb and floors that are out of level are common in both new construction and renovation projects. California homes, particularly those in older neighborhoods of San Francisco, Los Angeles, and Sacramento, often have walls that lean by a quarter inch or more over the height of a cabinet run and floors that slope by similar margins. Our installation team measures and records these conditions so they can be compensated for during installation using shims, scribe strips, and adjustable mounting hardware.
Any discrepancies between the site conditions and the production drawings are flagged immediately. If a plumbing rough-in is two inches off from where it should be, or an electrical box is centered differently than planned, there is time to coordinate with the plumber or electrician to correct the issue before our crew arrives with the cabinets. Discovering these problems on installation day creates delays and compromises that are entirely avoidable with a thorough pre-installation inspection.
Delivery and Site Protection
Our cabinets are delivered in custom-built protective crates and padded blankets that shield every surface from damage during transit. We use our own delivery vehicles and installation crew for transport, never a third-party shipping company. This ensures that the people unloading and carrying the cabinets into your home are the same skilled craftsmen who will install them and who understand the value and vulnerability of what they are handling.
Before any cabinet enters the house, our team protects all surfaces along the delivery path. Finished floors are covered with Masonite hardboard and adhesive- backed floor protection film. Door frames and hallway corners receive padded corner guards. Countertops, fixtures, and any finished surfaces in adjacent rooms are covered with clean moving blankets. This protection remains in place throughout the entire installation period, and our crew replaces or reinforces it as needed.
Cabinets are staged in the kitchen in the order they will be installed, with each piece clearly labeled with its position designation. Doors and drawer fronts are removed from the cabinet boxes before installation and stored separately in a protected area. Installing the boxes first without the doors eliminates the risk of damaging finished surfaces during the heavy lifting and fastening work.
Base Cabinet Installation
Installation begins with the base cabinets, starting from a corner or the most constrained location and working outward. The first critical step is establishing a level reference line. Using a laser level, the installation team identifies the highest point of the floor within the footprint of the base cabinets. All cabinets are installed level to this point, with shims placed under the lower points to bring every cabinet to the same height. This ensures a perfectly level, continuous countertop surface across the entire kitchen.
Each base cabinet is secured to the wall studs with heavy-duty screws through a reinforced mounting rail at the back of the cabinet. Adjacent cabinets are joined to each other through the face frames or side panels with concealed connection bolts that pull the cabinets tightly together and eliminate any gaps between units. The joint between cabinets must be perfectly flush on the front face because even a thirty-second of an inch misalignment will be visible and will affect door and drawer alignment.
Cutouts for plumbing, electrical, and ventilation penetrations are made on-site with precision. Our installers use template guides and oscillating multi-tools to create clean, accurately positioned cutouts that accommodate pipes and wires without excessive gaps. The sink base cabinet receives particular attention, with cutouts for supply lines, drain connections, garbage disposal wiring, and dishwasher drain and water connections all positioned according to the plumbing rough-in locations confirmed during the pre-installation inspection.
Upper Cabinet Installation
Upper cabinets are installed after the base cabinets, working from the same corner or constraint point. A temporary ledger board is screwed to the wall at the exact height of the upper cabinet bottom edge, providing a platform that supports the cabinets during mounting. This eliminates the risk of holding heavy cabinets in position while driving mounting screws, which is both physically demanding and imprecise.
Upper cabinets are secured to wall studs with a minimum of four screws per cabinet, driven through the reinforced mounting strip at the top and bottom rear of each unit. The screws must hit studs, not just drywall, to support the weight of the cabinet and its contents safely. In California homes with steel-framed walls, which are increasingly common in multi-story and commercial-to- residential conversions, special self-drilling steel screws are used that bite securely into the metal framing.
The alignment of upper cabinets to each other and to the base cabinets below is checked continuously during installation. The vertical lines of the upper cabinet edges must align precisely with the base cabinet edges below them. This alignment creates the visual order that makes a custom kitchen feel intentional and cohesive. Our team uses plumb lines and laser references to maintain this alignment across long cabinet runs.
Doors, Drawers, and Hardware
With all cabinet boxes installed, leveled, and secured, the doors and drawer fronts are mounted. Blum Clip Top hinges clip onto the mounting plates pre- installed on the cabinet boxes, and the doors are adjusted using the three-way cam system until every door sits perfectly flush, with even gaps between adjacent doors across the entire kitchen. This door alignment process is the most time-consuming part of the installation and the most visually critical.
Drawer fronts are installed on the pre-mounted Blum Tandembox or Legrabox drawer systems and adjusted for height, side-to-side position, and tilt. A perfectly aligned drawer front sits with even reveals on all four sides and does not shift visually when the drawer is opened and closed. Achieving this on every drawer in a kitchen of 30 or more drawers requires patience and a meticulous eye.
Decorative hardware, including knobs and pulls, is installed last. Each piece is positioned using a custom drilling template that ensures consistent placement across all doors and drawers. The template accounts for the specific door style: centered on a shaker door, offset on a slab door, or positioned at a specific distance from the door edge per the design specification. Hardware installation completes the visual identity of the cabinetry and is the final step before the client walkthrough.
Final Walkthrough and Sign-Off
The installation concludes with a comprehensive walkthrough conducted by the lead installer and the client. Every door and drawer is opened and closed to verify smooth, silent operation. Every gap and reveal is inspected for consistency. Every surface is examined for damage, marks, or finish defects. Hardware function is tested, lighting operation is confirmed, and any punch list items are documented for immediate correction.
We encourage clients to be thorough during this walkthrough. Touch every surface. Open every door and drawer. Look at the cabinets from different angles and in different lighting conditions. Check the interior of every cabinet for cleanliness and finish quality. Any concerns, no matter how minor, should be noted. Our commitment is to address every item on the punch list before considering the installation complete.
After the walkthrough, remaining trades complete their work around the installed cabinetry. Countertop fabricators template the installed cabinets, typically within a day or two of cabinet installation, and return to install the stone or quartz surfaces two to three weeks later. Plumbers connect fixtures. Electricians install outlets and connect appliances. Our team returns after all trades are complete for a final adjustment visit, re-checking door and drawer alignment after the weight of countertops has been added and making any final tweaks. This attention to the complete lifecycle of installation is a hallmark of our custom kitchen service.
Continue exploring kitchen design excellence
Related Articles
Finishing Techniques: From Raw Wood to Masterpiece
What happens in the workshop before installation day
Read More →