Design Insights
Appliance Garage Design and Functionality
Learn about appliance garage design and functionality for maximizing kitchen efficiency and organization.
Why Appliance Garages Have Become Essential in High-End Kitchen Design
The Hidden Powerhouse of Luxury Kitchens
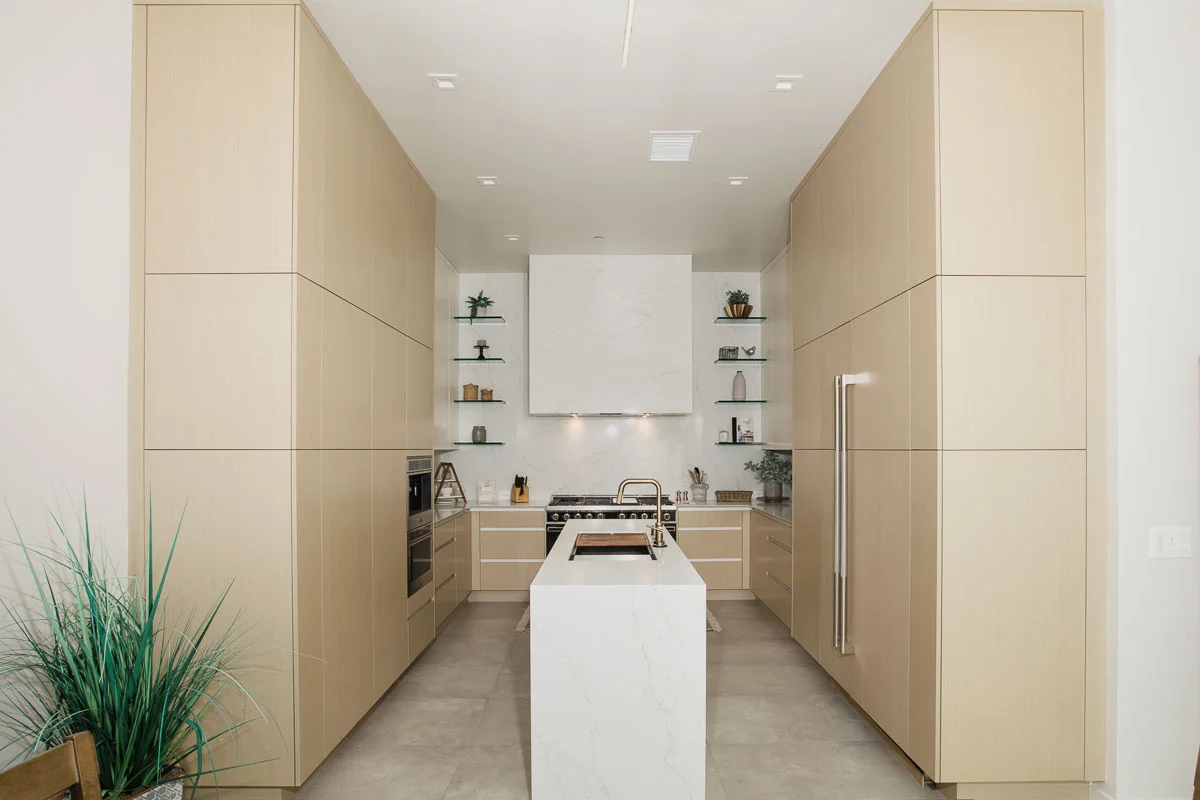
Nothing ruins the clean lines of a beautifully designed kitchen quite like a cluttered countertop full of small appliances. The stand mixer you use every weekend, the espresso machine that starts your mornings, the blender, the toaster, the food processor -- they all need to live somewhere. In luxury kitchens across California, the appliance garage has become the elegant answer to this universal design challenge.
An appliance garage is a dedicated cabinet section -- typically positioned at countertop level along the backsplash -- that conceals small appliances behind a retractable door while keeping them plugged in and ready to use. Unlike stashing your KitchenAid mixer in a lower cabinet where it collects dust, an appliance garage lets you simply lift a door and start cooking. It is the difference between a kitchen that looks like a showroom and one that actually functions like one.
Over the past five years, we have designed appliance garages into nearly every custom kitchen project we build. The designs have evolved far beyond the simple tambour-door boxes of decades past. Today's appliance garages integrate seamlessly with surrounding cabinetry, feature sophisticated door mechanisms, and include built-in electrical, lighting, and even ventilation systems.
Door Mechanisms: Choosing the Right Style
The door mechanism is arguably the most important design decision for your appliance garage, because it determines both the aesthetic and the daily experience of using it. The wrong mechanism leads to frustration -- doors that block your line of sight, slam shut unexpectedly, or require two hands to operate when you are holding a mixing bowl.
Bi-fold doors are our most popular recommendation for wider appliance garages (30 inches or more). They fold neatly to the side and tuck flat against the interior walls, giving you full, unobstructed access to the contents. We typically use Blum Aventos HF hardware for these installations -- the soft-close mechanism and lift-assist make them effortless to operate. For narrower garages (18 to 24 inches), a single flip-up door with Aventos HK-S stays works beautifully, lifting up and out of the way.
Pocket doors -- where panels slide back into the cabinet sides on tracks -- deliver the cleanest look when open. The appliance garage essentially disappears. However, pocket doors require deeper cabinet construction (typically 16 to 18 inches of depth) to accommodate the door panels when retracted. We have installed stunning pocket-door garages in several Palo Alto and Los Gatos homes where minimalist aesthetics are paramount. Tambour doors (the roll-up style) remain an option but have largely fallen out of favor in high-end work due to their visible tracks and tendency toward mechanical issues over time.
Interior Layout and Electrical Planning
A well-designed appliance garage is much more than an empty box with a door. The interior needs careful planning to accommodate the specific appliances you use. We always begin the design process by cataloging the client's small appliance collection, measuring each item, and mapping out exactly where everything will live inside the garage.
Electrical outlets are critical. We install a minimum of two duplex outlets inside every appliance garage, positioned at the back wall so cords stay hidden. For larger garages that house multiple appliances, we may install a continuous power strip along the back wall. All circuits should be 20-amp dedicated lines -- do not share a circuit between your stand mixer and your toaster oven, or you will trip breakers regularly. We also recommend at least one USB-A and USB-C outlet for charging devices, since kitchens increasingly serve as household command centers.
Interior lighting transforms the usability of an appliance garage. LED strip lights along the underside of the top panel illuminate the workspace so you can see controls and settings clearly. We prefer warm-white LEDs (2700K to 3000K) that activate automatically when the door opens, using a simple contact switch. For LED lighting integration, we coordinate with our electrical team during the rough-in phase to ensure clean, concealed wiring.
Sizing Your Appliance Garage Correctly
Getting the dimensions right is essential. Too small and your appliances will not fit; too large and the garage dominates your backsplash area. Here are the sizing guidelines we use based on hundreds of installations across California.
For a single-appliance garage (housing a stand mixer or espresso machine), a minimum width of 18 inches and height of 18 inches works well. For a multi-appliance garage (mixer plus toaster plus blender), plan for 30 to 42 inches of width and 20 to 22 inches of height. Depth should be at least 14 inches to accommodate most countertop appliances, though some professional espresso machines like the Breville Barista Express require 16 inches or more. We always verify actual appliance dimensions with the client before finalizing cabinet drawings.
Countertop height inside the garage should match the surrounding counter surface -- typically 36 inches from the floor. This means the garage begins at counter level and extends upward into what would normally be upper cabinet or backsplash space. In kitchens with full-height backsplash tile or stone, we integrate the garage door to sit flush with the surrounding material, creating a virtually invisible installation when closed.
Material and Finish Considerations
The exterior of your appliance garage should match your surrounding cabinetry materials exactly -- same wood species, same finish, same edge profiles. This is where custom cabinetry truly shines over stock solutions. We mill appliance garage doors from the same batch of white oak, walnut, or maple that we use for the rest of the kitchen, ensuring perfect grain and color continuity.
Interior surfaces require different thinking. The inside of an appliance garage sees heat, steam, crumbs, and occasional spills. We line interiors with either melamine-coated panels for easy cleaning or the same finished wood as the exterior for a premium look. For garages housing toaster ovens or high-heat appliances, we install a stainless steel back panel as a heat shield and recommend maintaining at least 4 inches of clearance above the appliance for ventilation.
For painted kitchens, we can match the garage door to any Benjamin Moore or Sherwin-Williams color. For stained wood kitchens, the door is finished identically to surrounding cabinetry using our multi-step finishing process. Hardware selection should complement the rest of the kitchen -- many of our clients opt for no visible hardware on the garage door, using push-to-open latches or integrated finger pulls for a seamless appearance.
Corner Appliance Garages and Special Configurations
Corner locations present unique opportunities for appliance garages. That awkward 90-degree junction where two runs of countertop meet is often underutilized dead space. A corner appliance garage transforms this into a functional zone, typically using a diagonal or L-shaped configuration with bi-fold or accordion-style doors.
We have also designed several double-decker appliance garages for clients with extensive small appliance collections. The lower tier sits at counter height for daily-use items (coffee maker, toaster), while the upper tier -- accessed by a separate door -- stores less frequently used items (food processor, immersion blender). This stacked configuration maximizes vertical space without extending the garage footprint along the countertop.
For kitchens with large islands, we sometimes integrate an appliance garage into the island itself. A pop-up shelf mechanism allows a heavy stand mixer to rise from inside the island to counter height at the press of a button, then descend and be covered by a flush countertop panel. The Rev-A-Shelf heavy-duty mixer lift is our go-to hardware for these installations, supporting up to 60 pounds.
Design Integration and the Finished Result
The ultimate measure of a great appliance garage is that guests never know it is there. When closed, the door should be indistinguishable from surrounding cabinetry -- aligned panel lines, consistent reveal gaps, matching finish. When open, it should feel like a natural, intentional part of the kitchen workflow rather than an afterthought.
We integrate appliance garage planning into the earliest stages of our design process. During the initial consultation, we discuss daily kitchen routines and appliance usage patterns. During schematic design, we position garages to optimize the kitchen work triangle and minimize cord clutter. During detailed design, we finalize interior layouts, electrical plans, and door mechanisms. The result is an appliance garage that feels like it was always meant to be there -- because it was.
If you are planning a kitchen renovation and tired of countertop clutter, an appliance garage is one of the highest-impact upgrades you can make. It protects your investment in beautiful countertop materials, keeps your kitchen looking magazine-ready, and makes daily cooking more efficient. Contact our design team to discuss how an appliance garage can be incorporated into your custom kitchen project.
Continue exploring kitchen design excellence
Related Articles
Hidden Storage Solutions
Discover clever storage ideas that keep luxury kitchens organized and clutter-free
Read More →Smart Storage Solutions
Explore pull-out systems, drawer organizers, and custom inserts for every kitchen need
Read More →Custom Hardware Selection
Learn how the right hardware elevates both form and function in custom cabinetry
Read More →